You can use the OTRS Web Installer, after you installed the OTRS software, to set up and configure the OTRS database. The Web Installer is a web page you can visit in your browser. The URL for the web installer is http://localhost/otrs/installer.pl .
Wenn der Webinstaller gestartet ist, folgen Sie den Anweisungen auf dem Bildschirm.
1. Lesen Sie die Informationen über die OTRS-Niederlassungen und klicken Sie auf "Weiter" um fortzufahren. (siehe untere Abbildung)

Abb.: Willkommensbildschirm.
2. Read the GNU GENERAL PUBLIC LICENSE (see Figure below) and accept it, by clicking the corresponding button at the bottom of the page.
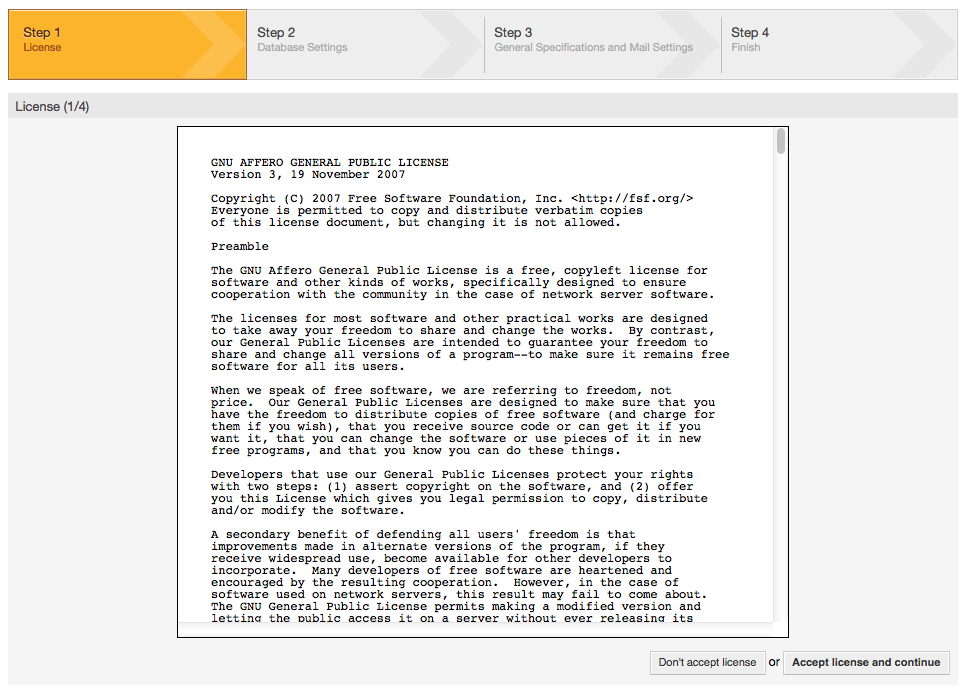
Figure: GNU GENERAL PUBLIC LICENSE.
3. Choose the database that you want to use with OTRS. If you choose MySQL, PostgreSQL or Microsoft SQL Server as a database, you can also select here if you want the web installer to create a database for you or if your database administrator has already created an empty database for you that you would like to use. After that, click the Next button (see figure below).
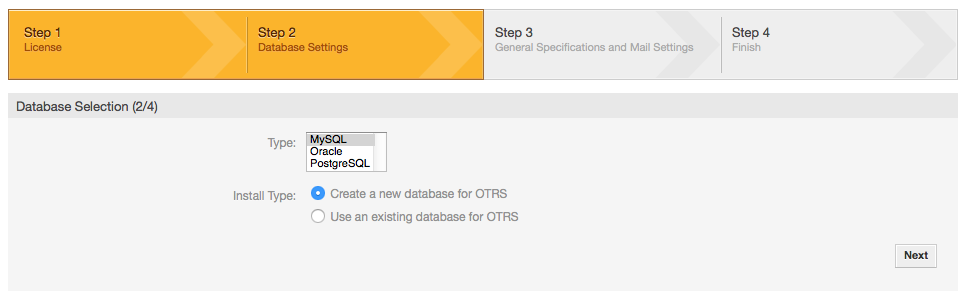
Abbildung: Datenbankeinstellungen.
4. Depending of the database you chose and if you wanted the web installer to create a database or use an existing one in the previous step, this screen might differ a little. Enter the credentials for the database in this screen.
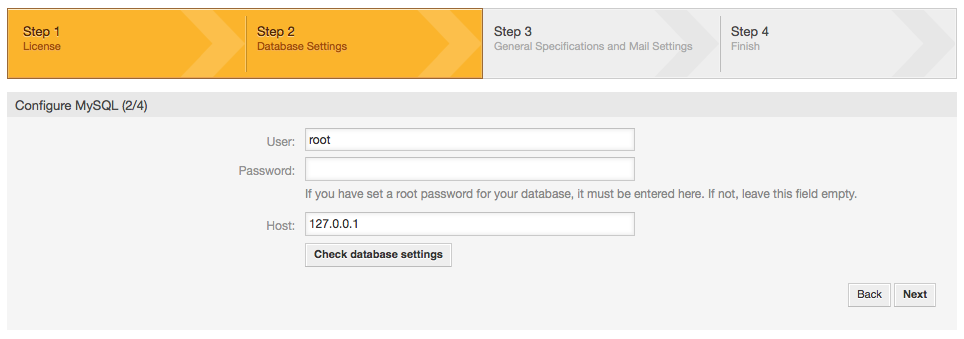
Abbildung: Datenbank-Benutzerdaten.
5. Erstellen Sie einen neuen Datenbankbenutzer, wählen Sie einen Namen für die Datenbank und klicken Sie auf "Weiter" (siehe untere Abbildung).
Warnung
OTRS will generate a strong password for you. It's possible to enter your
own password if you prefer this. The password will be written to the
configuration file Kernel/Config.pm so there is no need
to remember this password.

Abb.: Datenbankeinstellungen.
6. The database will be created if needed, and populated, as shown in this image. Click 'Next' to go to the next screen.
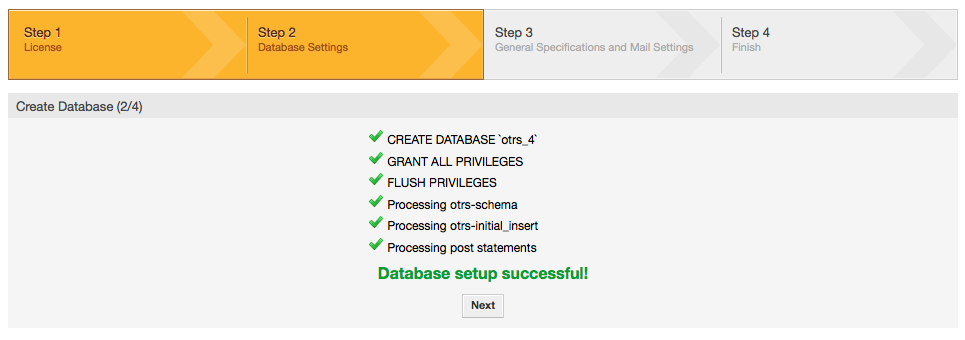
Abbildung: Bestätigung der erfolgreichen Datenbankeinrichtung.
7. Geben Sie alle benötigten Systemeinstellungen an und klicken Sie "Weiter" (siehe untere Abbildung).
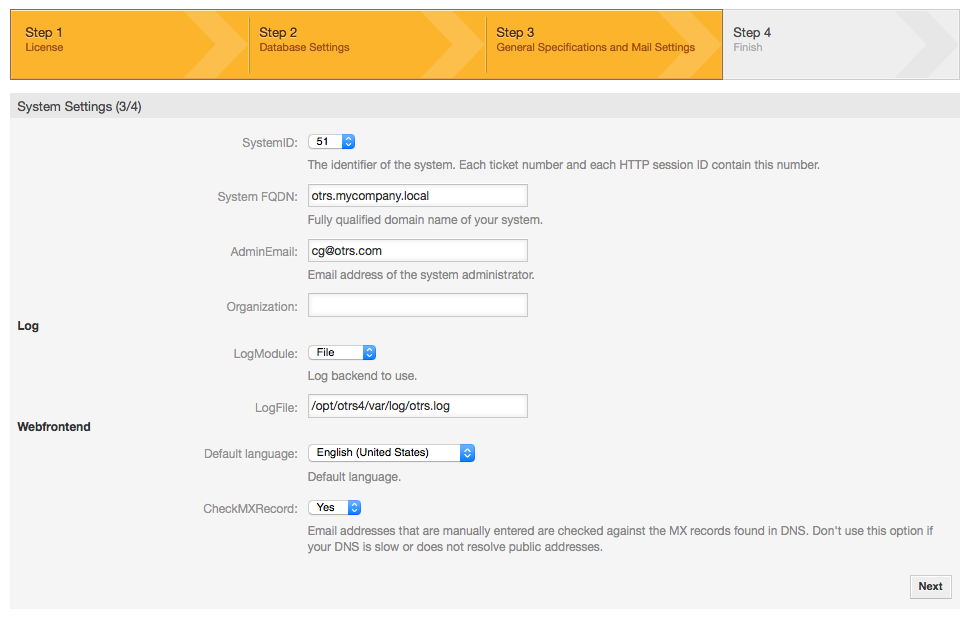
Abb.: Systemeinstellungen.
8. If desired, you can provide the needed data to configure your inbound and outbound mail, or skip this step by pressing the right button at the bottom of the screen (see Figure below).
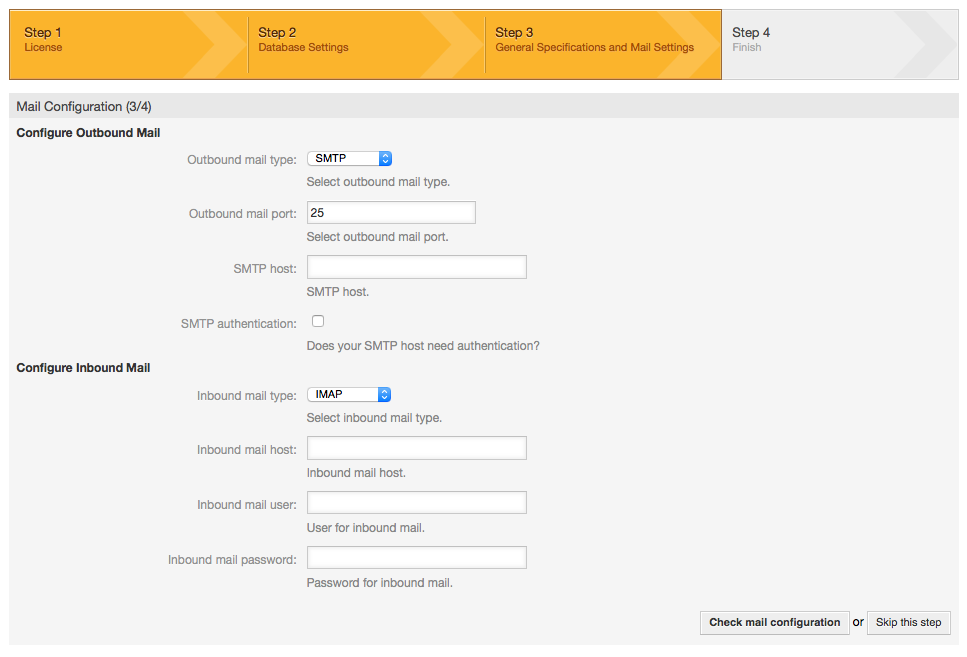
Abb.: E-Mail-Konfiguration.
9. Congratulations! Now the installation of OTRS is finished and you should be able to work with the system (see Figure below). To log into the web interface of OTRS, use the address http://localhost/otrs/index.pl from your web browser. Log in as OTRS administrator, using the username 'root@localhost' and the generated password. After that, you can configure the system to meet your needs.
Warnung
Bitte notieren Sie das generierte Passwort für den Benutzer 'root@locaclhost'.
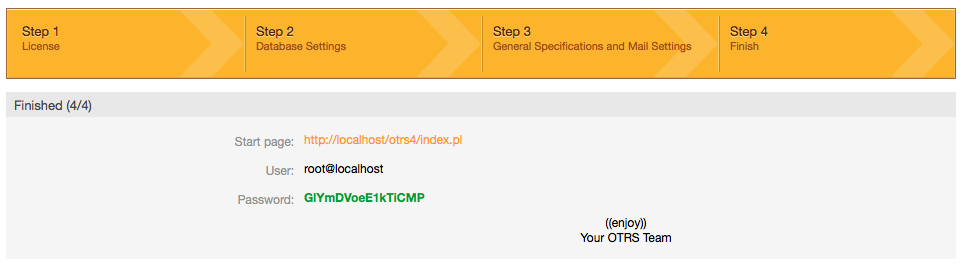
Abbildung: Finale Meldung Webinstaller.